Starting and Ending a Piece of Hemp Jewelry January 19, 2009
Posted by Rock One in Techniques.Tags: beads, crafts, Handcrafted, hemp, hemp crafts, hemp jewelry, jewelry, jewelry making
trackback
One of the most basic things to know when making a piece of hemp jewelry is how to start and end it. There are a few different ways to do this, but I am going to demonstrate the way that I do it. It works well for me. Give it a try and see if it does for you.
Starting
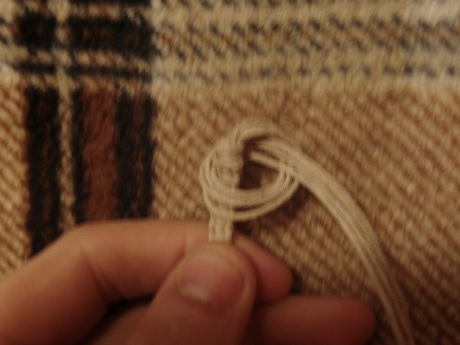
To begin, you will need to cut your hemp. Cut two pieces about ten feet long, maybe a little longer. This will ensure that you have enough extra, making sure you don’t run out of hemp half way through a piece. Fold them both exactly in half and place them together, holding them together at the fold like so:
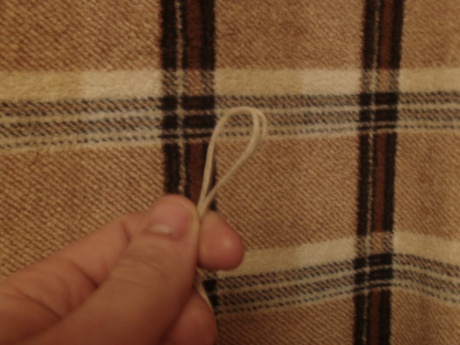
Next, you need tie the cords into a loop. When doing this, keep in mind that this loop will ultimately be used to fasten the piece around your neck (or wrist, or ankle, or whatever else). Don’t make it so small that your ending knot won’t be able to fit through it, but don’t make it so big that it will take a huge knot to fasten. It should look something like this (I know, I would rather have video, too, but I don’t have a tripod for my camera):
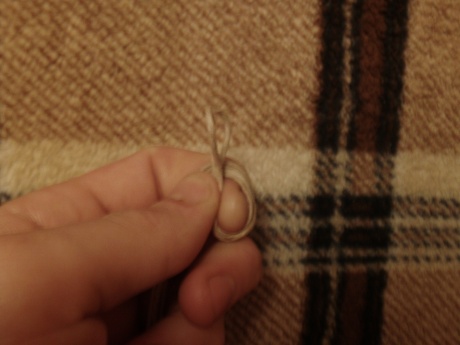
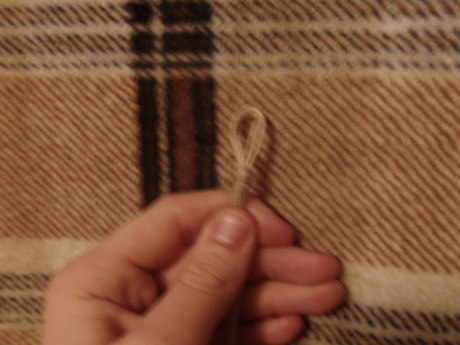 It’s a very simple knot. Just loop it around itself and pull it through. The only thing to keep in mind, as I said before, is to make sure the loop is not too big or small.
Ending
Ending a piece is about as easy as starting it. Make sure that the ending knot will fit through your starting loop without falling out.
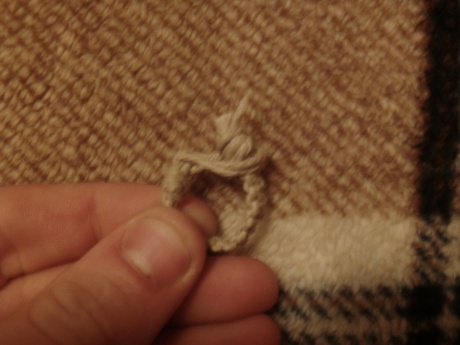
After you’re done braiding your piece, the two middle pieces of string will be longer than the outside ones. Cut these down so they are all the same length. Once again, loop all four pieces around themselves and pull them through:
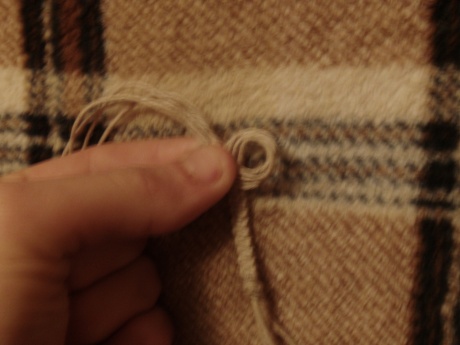
Try to make the knot as close to the piece as possible; that is, you don’t want to see any unbraided cord between the end of the piece and the knot. After the first knot, you will need to (depending on the size of your starting loop) make another knot. Loop all four cords around themselves again and pull them through, making sure that the second knot is just below (and touching) the first. If the knots cover a little of the braided portion of the piece, don’t worry: a little bit of a tug and a little bit of wearing the piece will put it in place. If the knots still don’t fit snugly through your loop, tie another one. Keep doing this until it fits, looping the cords around themselves in the opposite direction as you did the last, and try to make your loop smaller next time.
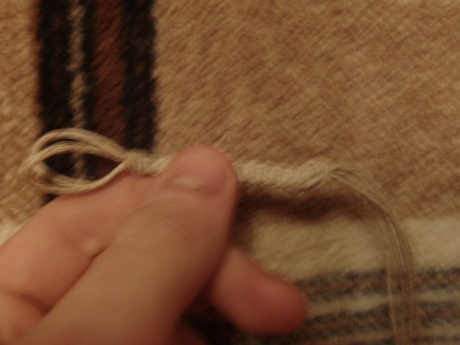
Cut off the remaining cord after your knot fits through the loop. Make sure you leave just a little bit extra so the knot doesn’t untie after being worn a few times. The finished product should look something like this (although needless to say, a lot longer):
There’s not much better thawn a well authored
post! Thank you incredibly for this breath of fresh air, I relished every second of the read.
Will be looking forward to your next article 🙂